Skip to content
Nanaimo Custom Bathrooms

Bathroom Walls, Ceilings & Finishing

Wallpaper Installation

Whether paper lasts here is a question about the room, not about the paper — and it is worth answering before anything is ordered.

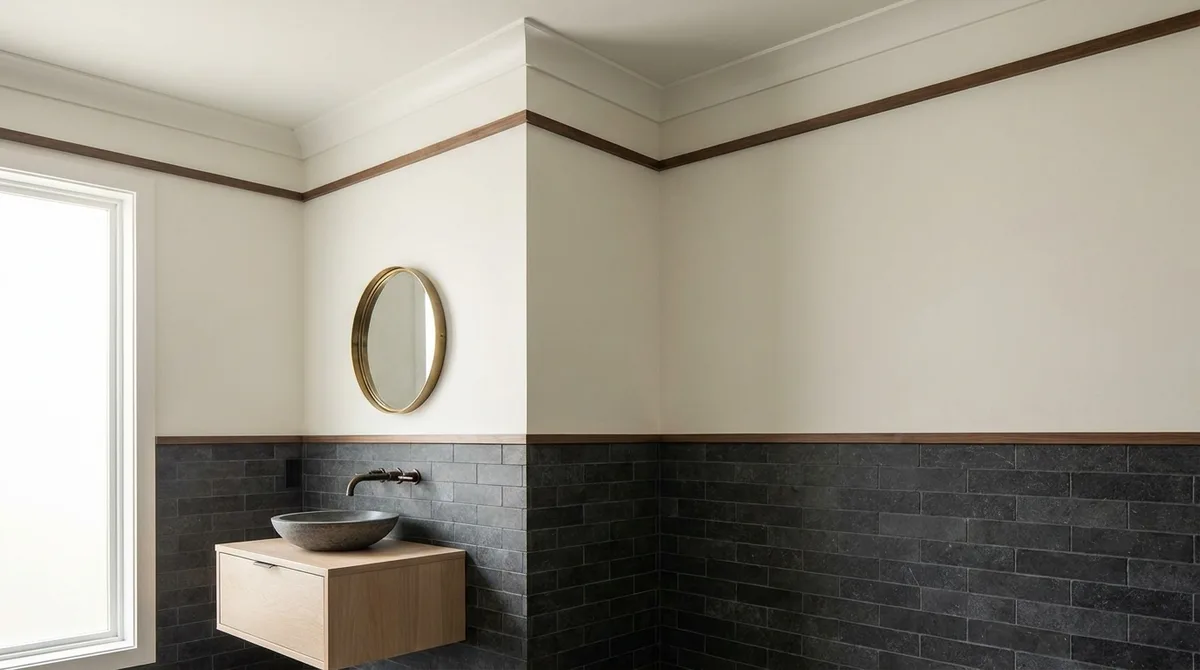
A bathroom wall with fresh drywall, taped joints and painted trim beside a framed mirror

What this involves

Wallpaper

The first question about wallpaper in a bathroom is not whether the paper is beautiful or durable. It is whether this room dries between uses. If it does, paper can work. If it does not — if the room stays damp for hours after a shower, with no air circulation and no heat to drive the moisture out — then paper will not survive, no matter what kind of paper it is.

A bathroom that dries is one where the air moves, the temperature rises after a shower, and the moisture is pulled out through ventilation. A bathroom that stays damp is one where the exhaust fan runs but the house is cold, where humidity stays high for hours, where the walls stay warm and damp and then cool without ever really drying. In that second case, paper will lift at the seams, backing will separate, and mould can grow on the back where paper meets wall.

Assuming the room dries — that is the precondition — the next choice is paper type. Vinyl-faced paper resists water better than traditional paper. It is not waterproof, but it sheds moisture better. The backing can be non-woven, which is stable and resistant to humidity movement, or paper, which can expand and contract with moisture. Non-woven backing is better for a bathroom. Traditional paper without vinyl facing is not water-resistant and is the riskiest choice for any wet zone, though it can work in the upper parts of the room where splash does not reach.

Paper shows the wall underneath more honestly than paint does. A painted wall can hide unevenness; paper does not. Every ripple, every lump, every joint in the substrate shows through as a shadow. This means substrate prep is most of the job. The wall has to be smooth, even, properly sized, and properly primed before paper goes on. A wall that looks fine for paint can look terrible under paper if the prep is not meticulous.

Seams are the points of failure. Internal corners, where two walls meet, are the most common failure point. The seam is under stress from the walls expanding and contracting with humidity. Around penetrations — electrical outlets, light switches — the paper is cut and seamed, and that seam is a weak point. At the boundary with tile, where wet zone ends and dry wall begins, the paper seam is right where splash rises from below. These are the places where paper lifts first.

Removal later is decided by how it goes on. Paste absorbs into the backing and the wall, and removal can require soaking and scraping. Adhesive that is meant to be removable — often a pre-pasted product or a special adhesive — comes off more cleanly later. If the owner thinks there is any chance the paper will come off in five or ten years, the removable adhesive choice saves months of work later.

  • Licensed & insured
  • WorkSafeBC coverage
  • Written quotes & contracts
  • Built to BC Building Code

Why it matters

What you get

The room's drying ability is the single condition that determines viability

If the bathroom dries between uses, paper can survive. If it does not — if it stays damp for hours with poor air movement — paper will fail. No grade of vinyl, no non-woven backing, no adhesive choice can overcome a room that does not dry. This is the first conversation: does this room dry? If the answer is no, paper is not the right choice. If yes, then the material choices become relevant.

Vinyl-faced, non-woven backed paper is the best choice for a drying bathroom

Vinyl facing sheds water better than paper. Non-woven backing is stable and does not expand and contract with humidity the way paper backing does. Together, they resist the moisture swings a bathroom creates. Traditional paper without vinyl is cheaper but riskier in a wet environment. If paper is the choice, vinyl and non-woven is the way to do it. The cost difference is small compared to the difference in reliability.

Substrate prep is most of the job, and paper shows every inch of it

Paint can hide minor imperfections. Paper does not. Every joint in the wall, every ripple, every uneven patch shows through as a shadow under wallpaper. This means the wall has to be smooth, even, properly sized, and primed before paper goes on. The prep often takes longer than the hanging. A beautiful paper on a poorly prepped wall will look rough; a plain paper on a perfectly prepped wall will look perfect.

Seams fail first: internal corners, around outlets, and at the tile junction

Internal corners are where the seam is under stress from wall movement. Around electrical boxes and penetrations, the paper is cut and seamed, and that seam is weak. At the boundary with tile, where wet zone ends, the seam is right where splash rises. These are the places to watch and the places where paper lifts first if the room moisture is marginal or if adhesive choices are not right. Building these seams carefully — and choosing removable adhesive — keeps them intact longer.

How it runs

The process

  1. 01

    Ask the first question: does this room dry between uses?

    Before any paper is ordered, spend a day in the room after showers. Does the air move? Does the fan run? After the fan stops, how long does humidity stay high? If humidity lingers for hours and the walls stay warm and damp, paper is not viable. If the room dries in an hour or two, paper can work. This is the precondition. If it is not met, no material choice fixes it.

  2. 02

    Prepare the substrate to a finish that paper shows honestly

    The wall is cleaned, any old paint or wallpaper is removed, holes and gaps are filled, and the wall is sanded smooth. A primer-sealer goes on to even out absorption and prepare for adhesive. The wall has to be even enough that paper does not bridge valleys or wrinkle over ridges. This prep work is where most of the labour goes, and it is worth doing completely. A well-prepped wall shows paper at its best.

  3. 03

    Hang paper carefully at seams and penetrations, especially corners

    Paper is hung panel by panel, and seams are where failure starts. Internal corners are wrapped and seamed carefully so they do not stress under humidity movement. Penetrations — outlets and switches — are cut neatly and seamed precisely. The seam at the tile junction is treated as a critical detail. Adhesive is applied evenly, air is driven out, and the seam is set firmly. This is where the hanging work shows.

  4. 04

    Choose adhesive and installation method with removal in mind

    If the paper is meant to come off later, removable adhesive or pre-pasted products designed for easy removal save time later. If it is meant to stay, standard paste works. The installation method — how the paste is applied, how the paper is booked and hung, how the seam is set — affects how easily it comes off years later. An installer who thinks about the removal job when hanging keeps the future in mind.

Questions

Frequently asked

Only if the room dries between uses. If the bathroom has good air circulation, an exhaust fan that runs during and after showers, and walls that reach normal room temperature quickly after a shower, then yes. If humidity lingers, air movement is poor, or the room stays cool and damp for hours, then no — paper will not survive. This is not about paper quality; it is about room conditions. The room decides, not the paper.

Vinyl-faced paper with non-woven backing. The vinyl sheds water and resists absorption better than paper. The non-woven backing is stable and does not expand and contract with humidity the way paper backing does. Together, they survive the moisture swings a bathroom creates better than any other combination. Traditional paper is the riskiest. If the room is marginal on drying, vinyl and non-woven is the only choice worth making.

If the paper was hung with standard paste, removal can require soaking, scraping, and hours of work. If it was hung with removable adhesive or pre-pasted with a product designed for easy removal, it often peels off cleanly. The choice of adhesive decides this. If there is any chance the paper will come off in five or ten years, the removable adhesive choice is worth the small additional cost. It saves a future renovation months of stripping work.

Thinking about wallpaper?

The room answers this one before the sample book does.